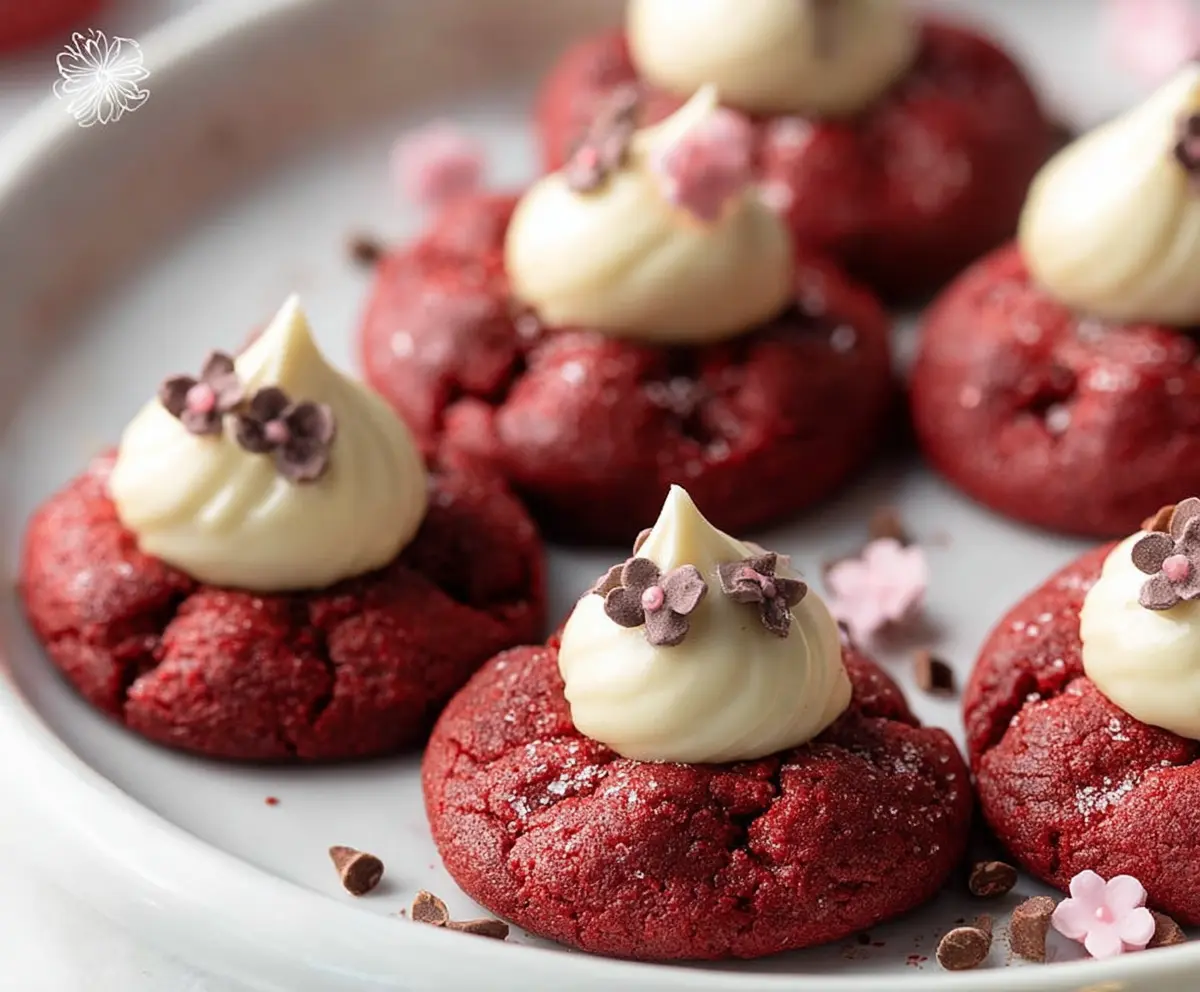
These Red Velvet Blossom Cookies are as pretty as they are tasty! With soft, red cocoa dough topped with a sweet chocolate kiss, they’re the perfect treat for any occasion.
I love how festive they look on a plate! Plus, they’re easy to make—even my cat watches me bake these, hoping for a crumb! 🐱 Just mix, shape, and bake—simple and yummy!
Key Ingredients & Substitutions
Unsalted Butter: Use unsalted butter for better control over salt levels. If you’re in a pinch, you can substitute margarine, but it might slightly alter the texture.
Red Food Coloring: The classic choice, but if you want a natural option, beet juice can work, though it may change the flavor a bit.
Buttermilk: If you’re out of buttermilk, mixing regular milk with vinegar or lemon juice (let sit for 5 minutes) mimics the acidity. This keeps the cookies tender!
White Chocolate Chips: Enjoy semi-sweet or dark chocolate instead if you prefer a bolder flavor. Just adjust sweetness in the cookie batter if needed.
How Do You Get Soft, Chewy Cookies?
To achieve that perfect soft and chewy texture, proper mixing and baking time is key. Here are some tips:
- Cream butter and sugar thoroughly until light and fluffy—this adds air for lightness.
- Be careful not to overmix when adding dry ingredients; overmixing develops gluten, leading to tough cookies.
- Underbake slightly—cookies will continue to cook on the hot baking sheet after removal!
Enjoy these little tips and your baking process! Delicious cookies await!

Red Velvet Blossom Cookies
Ingredients You’ll Need:
- 1/2 cup unsalted butter, softened
- 3/4 cup granulated sugar
- 1 large egg
- 1 tsp vanilla extract
- 1 tbsp red food coloring
- 1/2 cup buttermilk (or milk with 1/2 tbsp vinegar or lemon juice, set 5 mins)
- 1 1/2 cups all-purpose flour
- 2 tbsp unsweetened cocoa powder
- 1/2 tsp baking soda
- 1/2 tsp salt
- 12 oz white chocolate chips or melting wafers (for frosting)
- 2 tbsp heavy cream (for frosting)
- Decorative sugar flowers or sprinkles for garnish
How Much Time Will You Need?
This recipe takes about 15 minutes to prep and 10 to 12 minutes to bake, plus some time to cool and decorate. To let the frosting set, it’s best to plan for about 30 minutes of resting time. Overall, you’re looking at roughly 1 hour to whip up these delightful cookies and enjoy them!
Step-by-Step Instructions:
1. Preheat the Oven:
First things first! Preheat your oven to 350°F (175°C). This helps the cookies bake evenly and come out perfectly soft. Line a baking sheet with parchment paper to make cleanup easy later!
2. Cream Butter and Sugar:
In a large mixing bowl, add the softened butter and granulated sugar. Beat them together using a hand mixer until the mixture is light and fluffy. This might take about 2-3 minutes, but it’s worth it for that wonderful texture!
3. Mix in the Wet Ingredients:
Next, add the egg, vanilla extract, and red food coloring to the butter-sugar mix. Keep mixing until everything is combined well. It should look bright and colorful!
4. Prepare the Buttermilk:
In a small bowl, combine the buttermilk with baking soda. Give it a little stir and let it fizz for about a minute. This adds a nice fluff to your cookies!
5. Combine Dry Ingredients:
In another bowl, whisk together the flour, cocoa powder, and salt. This ensures your dry ingredients are evenly distributed for the best flavor.
6. Mix Everything Together:
Now, alternately add the dry ingredients and the buttermilk mixture into the bowl with the wet ingredients. Start with the dry, then pour in some buttermilk, repeating this until everything is mixed but just combined. Don’t overdo it!
7. Scoop the Dough:
Using a tablespoon or cookie scoop, drop the dough onto the prepared baking sheet, spacing them about 2 inches apart. They’ll spread a bit while baking, so give them some room!
8. Bake the Cookies:
Bake in your preheated oven for about 10 to 12 minutes. The cookies should feel set on the edges but a bit soft in the centers. Remove them from the oven and let them cool completely on a wire rack.
9. Make the Frosting:
While your cookies are cooling, let’s prepare the frosting! Melt the white chocolate chips with heavy cream over a double boiler or microwave in short bursts, stirring until it’s super smooth and creamy.
10. Pipe the Frosting:
Once the frosting has cooled slightly but is still pourable, transfer it to a piping bag fitted with a round or star tip. Now comes the fun part—pipe little peaks of frosting right onto the center of each cooled cookie!
11. Garnish & Set:
Sprinkle some decorative sugar flowers or small sprinkles on top for a lovely touch. Let the frosting set at room temperature for about 30 minutes before enjoying your delightful cookies!
12. Enjoy!
Now that your Red Velvet Blossom Cookies are ready, gather your family or friends and share these lovely treats. Smile and savor each bite—your baking adventure was a sweet success!
Can I Use a Different Type of Food Coloring?
Absolutely! While red food coloring gives the classic look, you can use gel or natural food coloring for a more subdued color. Just remember that the intensity may vary, so add it gradually to reach your desired shade.
What Can I Use Instead of White Chocolate for the Frosting?
You can substitute white chocolate with cream cheese frosting for a tangy alternative. Simply blend cream cheese with powdered sugar until smooth and pipeable for a delicious twist!
How Should I Store Leftover Cookies?
Keep leftover cookies in an airtight container at room temperature for up to 5 days. If you want them to last longer, you can refrigerate them for up to a week or freeze for up to 3 months. Just make sure to separate layers with parchment paper!
Can I Make the Dough Ahead of Time?
You sure can! You can prepare the dough in advance and refrigerate it for up to 2 days. Just remember to let it come to room temperature for about 15 minutes before scooping and baking to ensure they bake evenly.