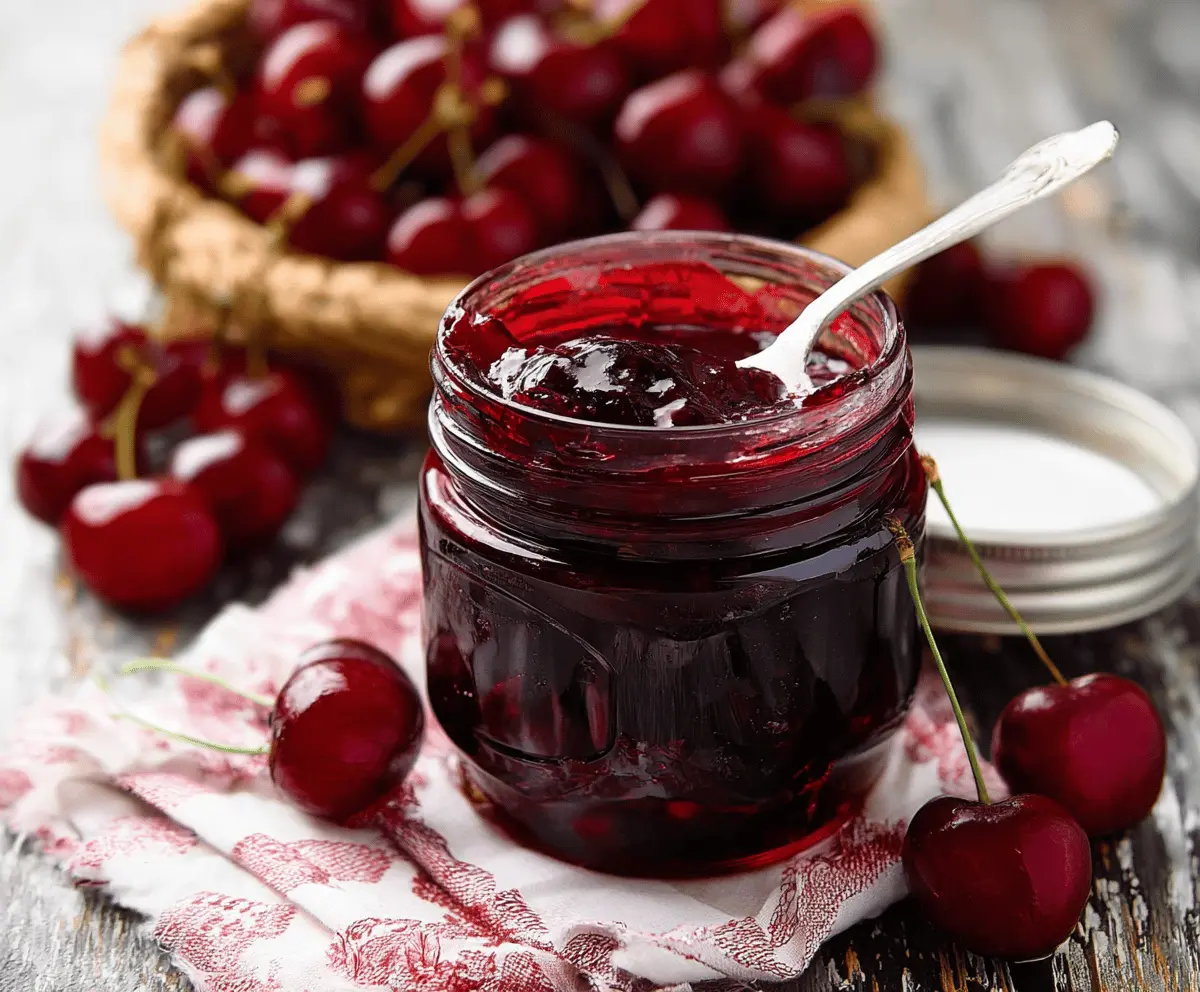
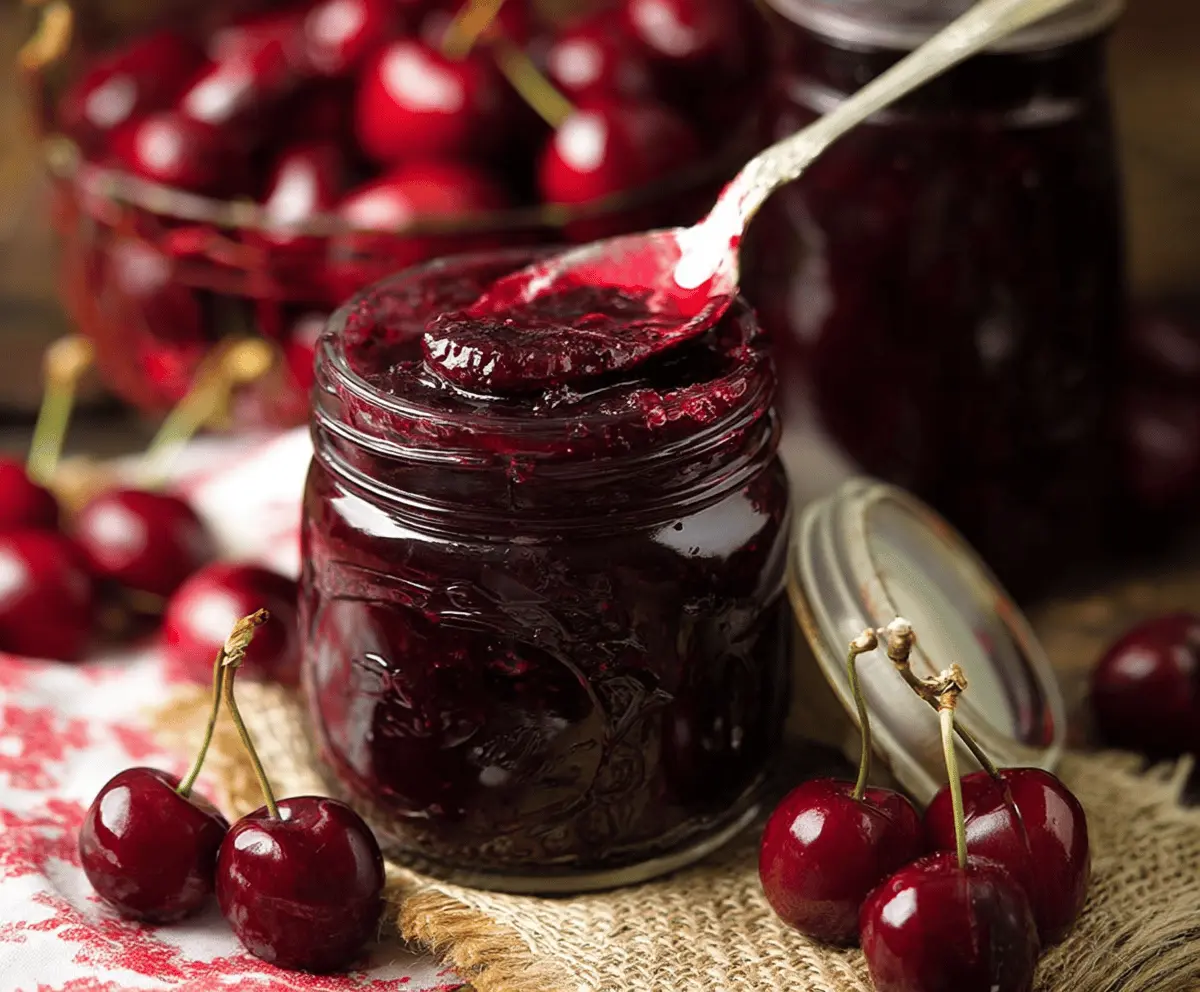
This sweet and fruity cherry vanilla jam is perfect for spreading on toast or drizzling over desserts. Made with fresh cherries and a hint of vanilla, it’s a delightful treat!
I love how easy it is to whip up a batch. Just boil, stir, and jar it up! Plus, your kitchen will smell amazing while it cooks. Who wouldn’t want a little bit of that cherry goodness? 🍒
Key Ingredients & Substitutions
Cherries: Fresh, ripe cherries are best for this jam, but if they’re out of season, frozen cherries work well too. Just thaw and drain excess liquid before using.
Sugar: Granulated sugar gives the jam its sweetness and helps with preserving. If you prefer, you can replace some of it with honey or maple syrup, but do note that this may change the flavor a bit.
Lemon Juice: Fresh lemon juice adds brightness to the jam and helps balance the sweetness. If you don’t have fresh lemons, bottled juice will do in a pinch.
Vanilla: A vanilla bean adds a lovely depth of flavor. However, if it’s not available, you can easily substitute it with vanilla extract. Just start with a little and adjust to your taste.
Butter: While it’s optional, a small amount of butter can help reduce foaming during cooking. If you’re watching your calorie intake, feel free to skip it.
How Do I Get My Jam to Thicken Just Right?
Getting the right consistency for jam can be tricky but is essential for a delightful spread. Here’s the lowdown on thickening your cherry vanilla jam:
- Bring the mixture to a gentle boil and then lower the heat to simmer. The slower cooking allows natural pectin to activate and helps with thickening.
- Keep an eye on the texture as it cooks. Stir occasionally to prevent burning and ensure even thickness.
- Test for the right consistency by placing a spoonful on a cold plate. If it holds its shape and wrinkles when pushed, it’s perfect.
Patience is key here; cooking for the full 20-30 minutes will yield the best results. Happy jamming!

Homemade Cherry Vanilla Jam
Ingredients You’ll Need:
Base Ingredients:
- 4 cups fresh cherries, pitted (about 2 pounds)
- 1 cup granulated sugar
- 2 tablespoons fresh lemon juice
- 1 vanilla bean or 1 teaspoon vanilla extract
- 1/2 teaspoon butter (optional, to reduce foaming)
Estimated Time Needed:
This delicious homemade cherry vanilla jam will take about 15 minutes to prepare and approximately 20-30 minutes to cook. Give yourself a total of about 45 minutes to make this tasty treat and enjoy the wonderful aromas filling your kitchen!
Step-by-Step Instructions:
1. Prepare the Cherries:
Start by washing and pitting the cherries; make sure to remove any stems too! If you’re using a vanilla bean, carefully split it lengthwise and scrape out the small black seeds. This will help infuse your jam with rich vanilla flavor.
2. Combine Ingredients:
In a large saucepan, mix together the cherries, sugar, lemon juice, and your vanilla bean seeds plus the pod (or the vanilla extract if you’re using that instead). Stir everything well to make sure the sugar starts to dissolve.
3. Bring to a Boil:
Turn the stove to medium heat and bring the mixture to a gentle boil. Be sure to stir frequently to help dissolve the sugar completely into the fruit mixture. You want those cherries to start releasing their juices!
4. Simmer the Jam:
Once boiling, lower the heat to medium-low and let the mixture simmer. Keep stirring occasionally as the jam cooks. You’ll want to watch for thickening, which usually takes about 20-30 minutes. If any foam appears on the surface, just skim it off with a spoon. If you want to minimize foaming, add the optional butter.
5. Test for Readiness:
To check if your jam is ready, take a small spoonful and place it on a chilled plate. Let it sit for a minute, then gently push it with your finger. If it wrinkles, it’s perfect! If it’s still runny, continue to simmer a bit longer.
6. Finish the Jam:
When the jam reaches the desired thickness, remove it from heat. If you used a vanilla bean pod, carefully take it out and discard it now—that pod has done its job!
7. Jar the Jam:
Pour the hot jam into sterilized jars, leaving a little headspace at the top. Seal the jars with their lids. This keeps your jam fresh!
8. Cool and Store:
Allow the jars to cool to room temperature before placing them in the refrigerator. Your homemade cherry vanilla jam can be stored in the fridge for up to 3 weeks—if it lasts that long!
9. Enjoy!
Now it’s time to indulge! Spread your cherry vanilla jam on toast, pancakes, or use it as a delightful topping for desserts. Enjoy every sweet bite!

FAQ for Homemade Cherry Vanilla Jam
Can I Use Frozen Cherries for This Recipe?
Yes, you can use frozen cherries! Just be sure to thaw them completely and drain any excess liquid before using. This ensures the right texture and sweetness in your jam.
How Do I Store Leftover Jam?
Store any leftover jam in airtight jars in the refrigerator. It will keep well for up to 3 weeks. If you want to store it longer, consider freezing it in freezer-safe containers; it can last several months that way!
What If My Jam Doesn’t Thicken?
If your jam is still runny after cooking, return it to the stove and simmer it for a bit longer. You can also mash in a little extra pectin or cook it with a bit of grated apple, which naturally contains pectin. Remember to do the plate test again for consistency!
Can I Substitute Vanilla Extract for Vanilla Bean?
Absolutely! If you don’t have a vanilla bean, you can substitute 1 teaspoon of vanilla extract. Just add it at the end of the cooking process for the best flavor. The vanilla bean does add a depth of flavor, but extract is a great alternative!


