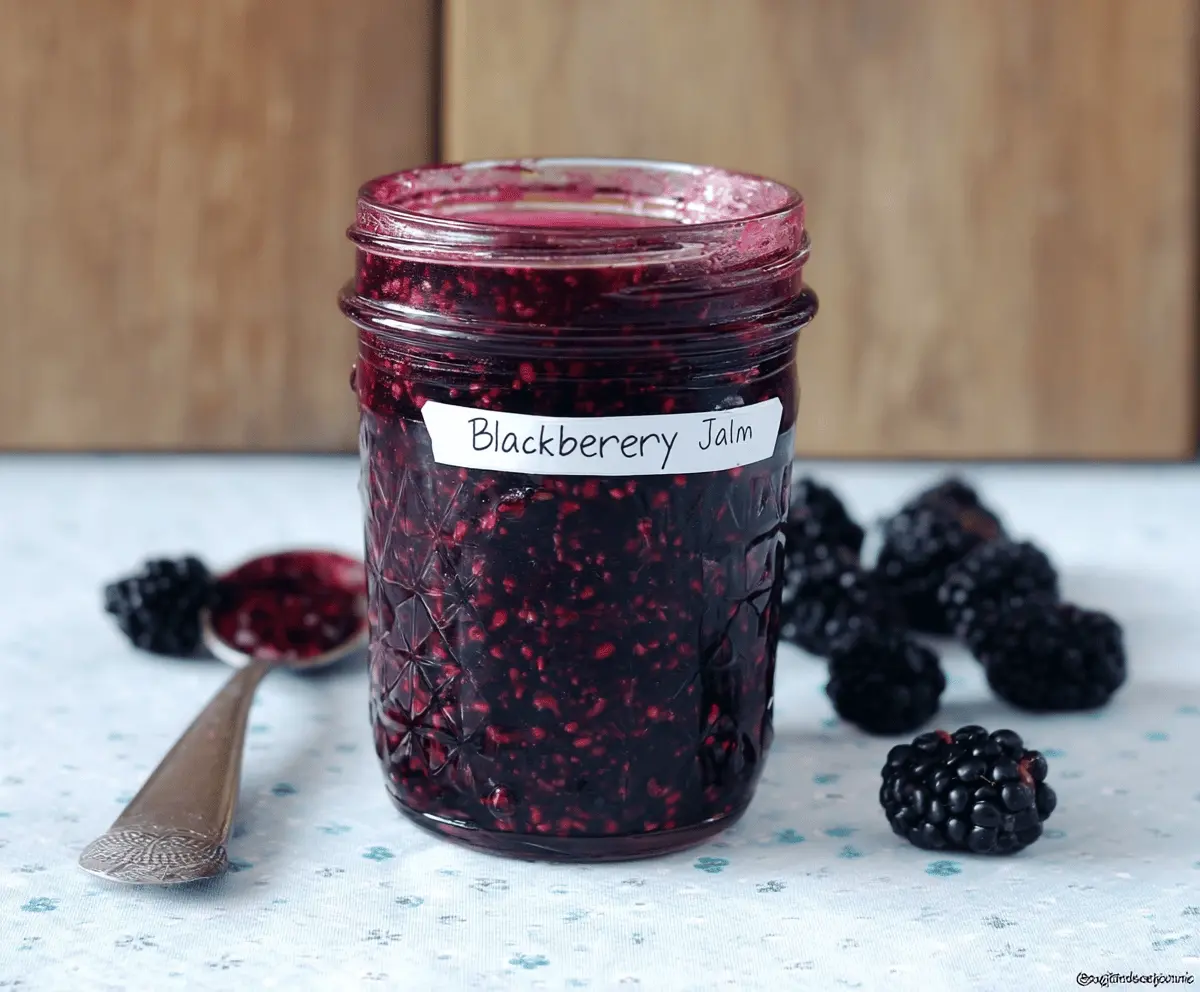
This easy homemade blackberry jam is the perfect way to capture the sweet and tart flavor of fresh blackberries! It’s simple to make with just a few ingredients: blackberries, sugar, and lemon juice.
Making jam is a fun activity, and spreading it on toast just makes breakfast all the more exciting! I love to enjoy it with a warm biscuit—easy comfort in every bite! 😊
Key Ingredients & Substitutions
Blackberries: Fresh blackberries are the star here. Their sweet-tart flavor makes the jam delicious. If fresh blackberries aren’t available, frozen ones work well too—just make sure to thaw and drain excess water before using.
Sugar: Granulated sugar helps preserve the jam and enhances its sweetness. If you’re looking for alternatives, consider using honey or agave syrup, but keep in mind that these may alter the flavor and texture slightly.
Lemon Juice: Fresh lemon juice adds brightness and helps with the jam’s setting. If you don’t have fresh lemons, bottled lemon juice can be used in a pinch. It’s also excellent for balancing out the sweetness from the sugar.
How Do I Know When My Jam is the Right Consistency?
Getting the jam to the perfect thickness can be tricky, but it’s all about patience! The key indicator is the gelling point. Here’s how to check:
- Keep a chilled plate in your freezer while cooking your jam. When you think it’s done, spoon a dollop of jam onto the plate and let it sit for a minute.
- Run your finger through the jam on the plate. If it stays separated and doesn’t run back together quickly, it’s ready! If it’s still too runny, keep cooking and check again after a few minutes.
A little tip: remember that the jam will thicken more as it cools. If it seems slightly runny, don’t worry too much!
How to Make Easy Homemade Blackberry Jam
Ingredients You’ll Need:
- 4 cups fresh blackberries (about 1 pound)
- 3 cups granulated sugar
- 2 tablespoons fresh lemon juice
How Much Time Will You Need?
This recipe will take about 30 minutes to prepare, plus a little extra time for cool down and storage. You’ll spend approximately 20-25 minutes cooking the jam, and then about 10 minutes for pouring it into jars and cleaning up. Simple and quick!
Step-by-Step Instructions:
1. Prepare the Blackberries:
Start by rinsing the fresh blackberries gently under cold water to remove any dirt. Let them drain well in a colander to ensure no excess water makes your jam watery.
2. Combine Ingredients:
In a large, heavy-bottomed pot, mix together the rinsed blackberries, granulated sugar, and fresh lemon juice. The sugar helps to balance the tartness of the blackberries while also aiding in preservation.
3. Crush the Blackberries:
Using a potato masher or fork, gently crush the blackberries in the pot. This will help release their natural juices and create a puree-like mixture. You don’t have to make it completely smooth; some chunks add texture!
4. Heat the Mixture:
Place the pot over medium heat. Stir the mixture gently until the sugar fully dissolves. Once the sugar is dissolved, increase the heat to bring the mixture to a boil.
5. Simmer the Jam:
After it reaches a boil, reduce the heat to let it simmer uncovered. Stir frequently to prevent the jam from sticking to the bottom of the pot and burning. This cooking time is crucial for proper thickening.
6. Check for Thickness:
Continue cooking and stirring for about 20-25 minutes. To check if it has thickened to your liking, place a small spoonful of the jam on a chilled plate and let it sit for a minute. If it gels and holds its shape, it’s ready!
7. Cool the Jam:
Once the jam is thickened, remove the pot from the heat and let it sit for a few minutes to cool slightly. This will make it easier to pour into jars.
8. Jar the Jam:
Carefully pour the hot jam into clean sterilized jars, leaving about 1/4 inch of headspace at the top. This space is important for sealing and storing.
9. Seal and Cool:
Wipe the rims of the jars clean to ensure a good seal, then place the lids on top and screw them on. Let the jars cool to room temperature on a clean countertop.
10. Store Your Jam:
Your homemade blackberry jam can be stored in the refrigerator for up to 3 weeks. If you want it to last longer, consider processing the jars in a water bath for proper canning.
Now you have delicious homemade blackberry jam to enjoy on toast, biscuits, or your favorite baked goods! Have fun spreading the joy of homemade goodness!

Frequently Asked Questions about Easy Homemade Blackberry Jam
Can I Use Frozen Blackberries for This Jam?
Absolutely! Frozen blackberries work well in this recipe. Just remember to thaw them and drain any excess water before using, as this will help maintain the jam’s consistency.
Can I Reduce the Sugar in This Recipe?
While sugar is essential for sweetness and preservation, you can reduce it slightly for a less sweet jam. Keep in mind that this may affect the thickening process and shelf life. Consider using a sugar substitute designed for canning if you’re looking for a lower-sugar option.
How Do I Properly Store My Blackberry Jam?
Once your jam is cooled and sealed in jars, store it in the refrigerator for up to 3 weeks. For long-term storage, you can process the jars in a water bath canner for about 10 minutes to make them shelf-stable.
What Should I Do If My Jam Didn’t Thicken?
If you find your jam is too runny, don’t worry! Simply return it to the pot, bring it back to a boil, and let it simmer for a few more minutes. You can also add a bit of pectin to help thicken it up if necessary.